Pantry Before & After
Last year I shared all about my kitchen and pantry organization overhaul with Neat Method on the blog, but I just realized I never shared a good “before” picture of our pantry space. So, this is just a quick post to show what small changes we made during construction to add both some functionality and a little “wow” factor to our previously very basic pantry. 🤩
Below is what our pantry looked like before our home renovation. 👇🏻
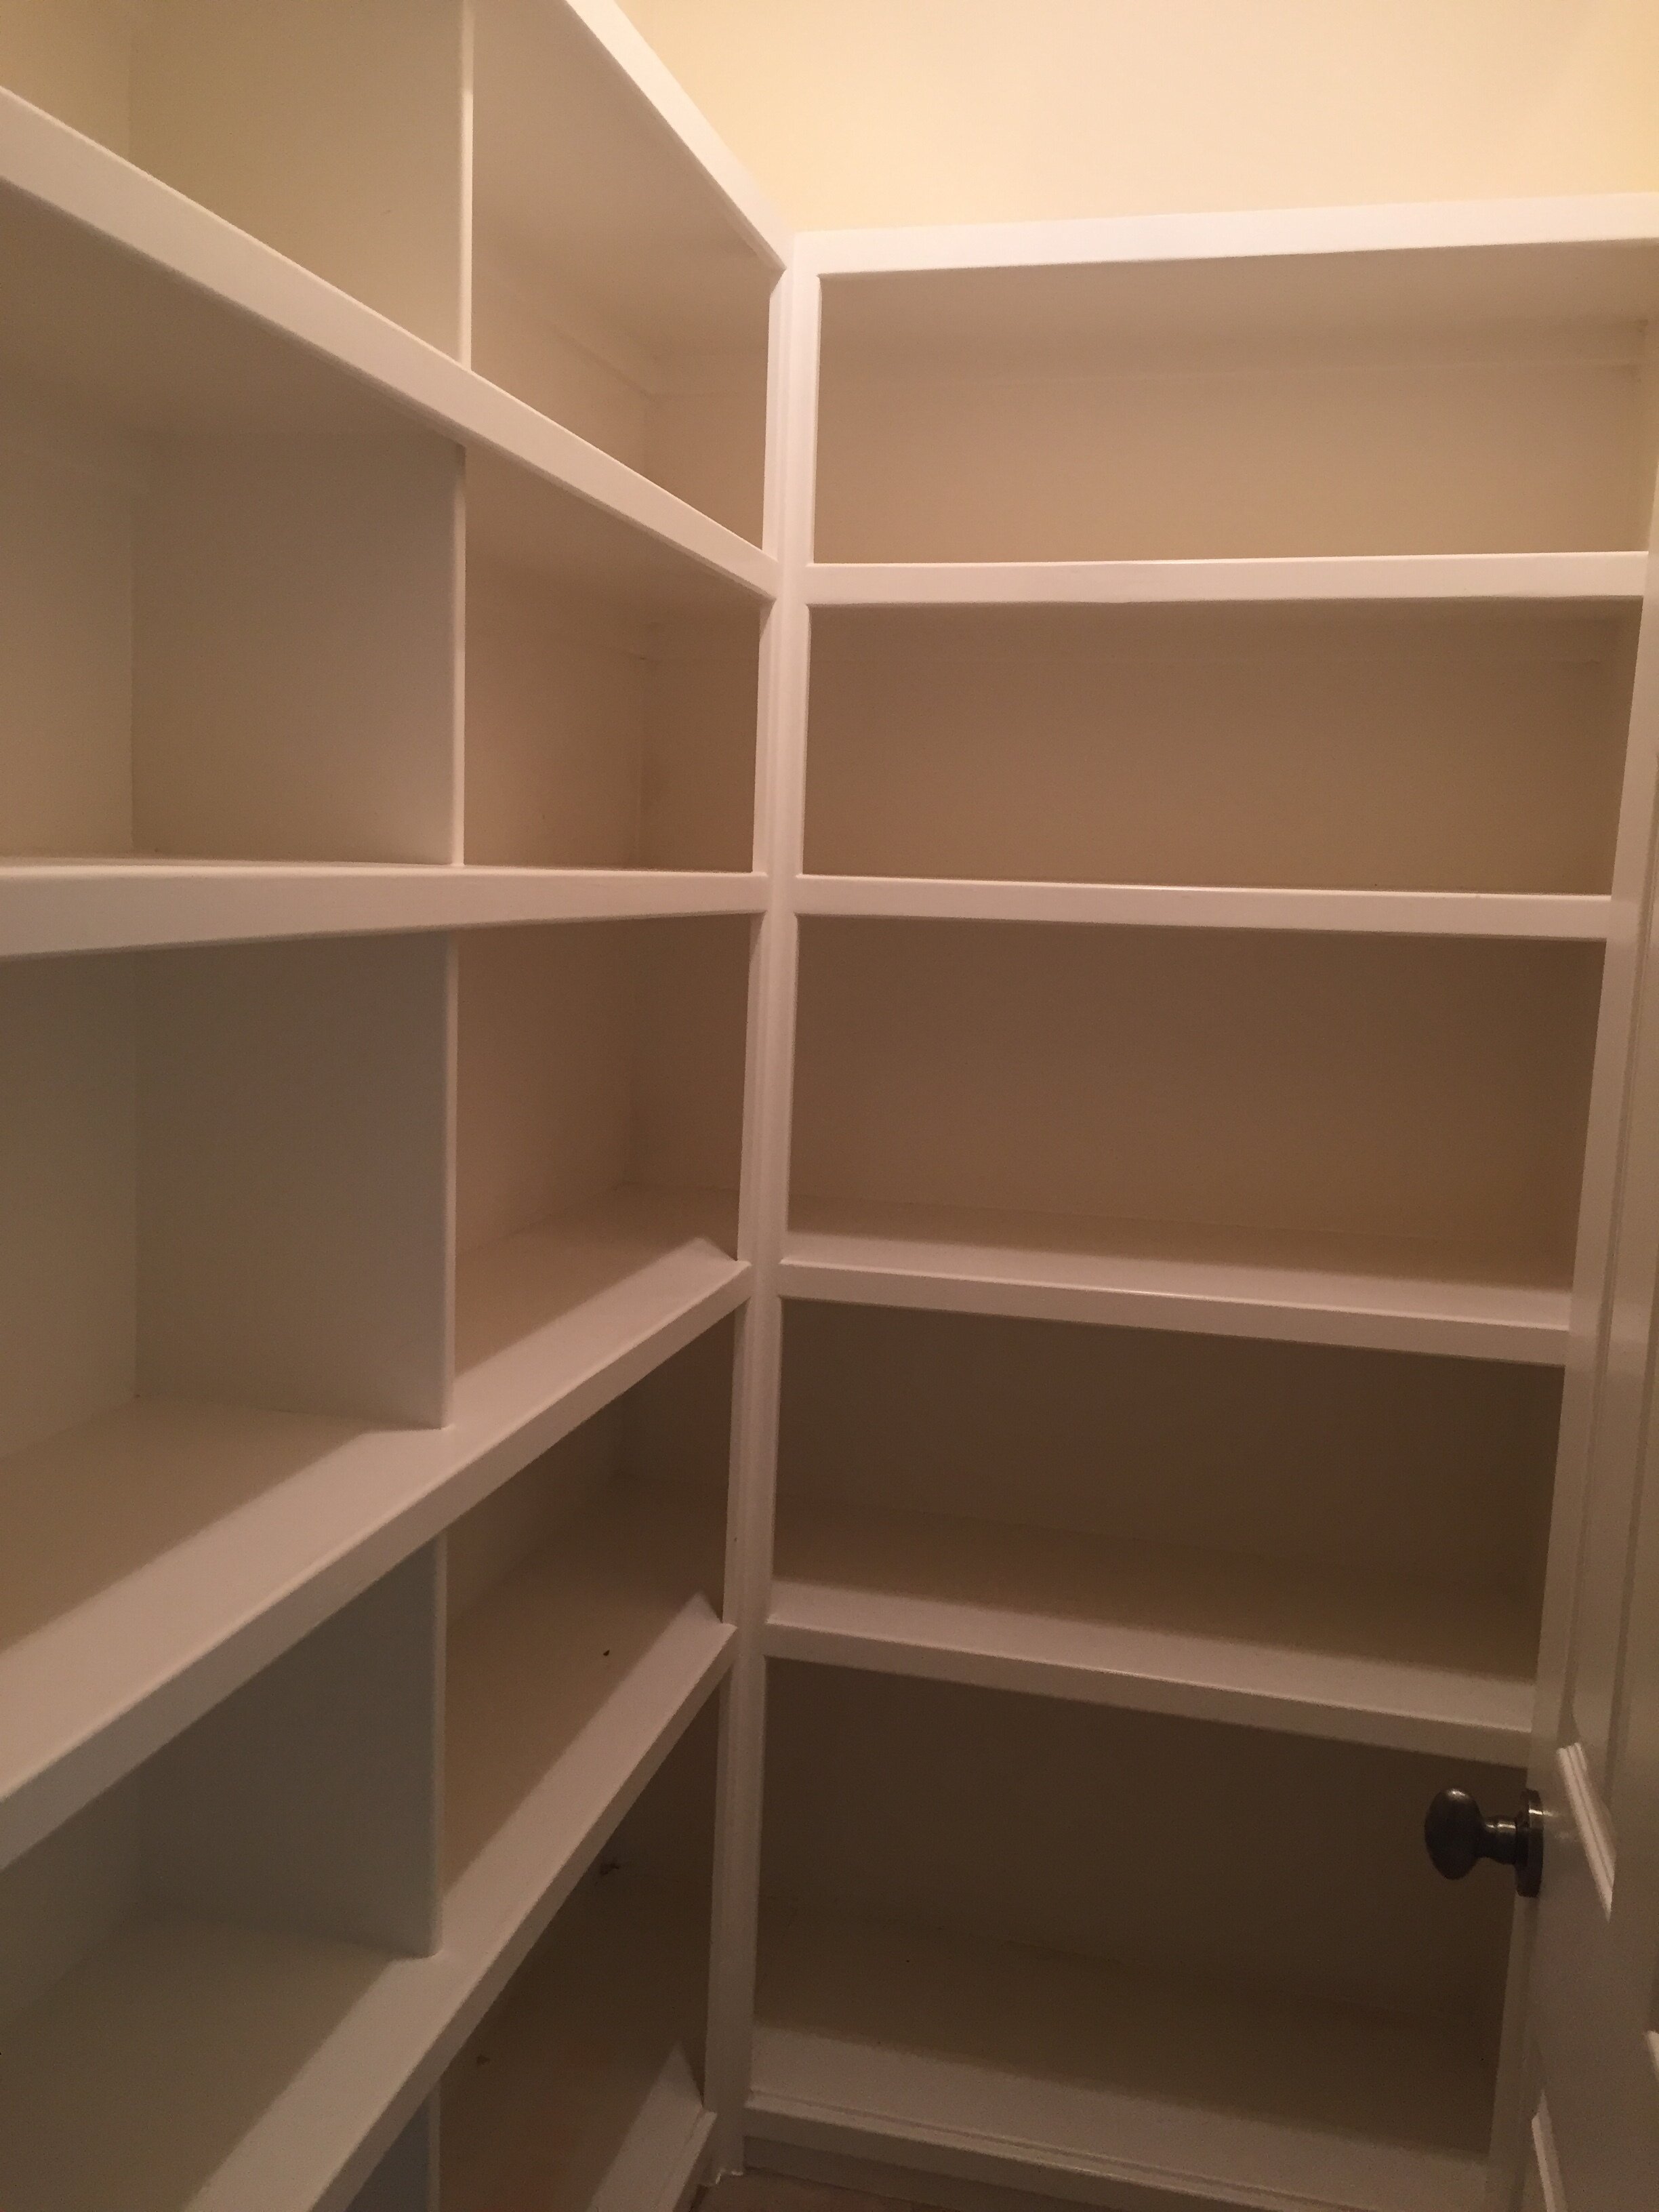
Of course it was perfectly fine before and really didn’t NEED anything other than a fresh coat of paint.

However, I wanted to add a mini fridge in here for some extra drink storage since we removed the “extra” refrigerator that was originally in the laundry room. We also carried the same quartz countertops from our kitchen into the space + added some simple subway tiles as a backsplash.
Now that we have counters and an electric outlet in the pantry, it allows us to use the room as a quick prep area for making sandwiches. Plus, it helps keep my kitchen counters free of excess appliances since I prefer a more clean, clutter-free look.
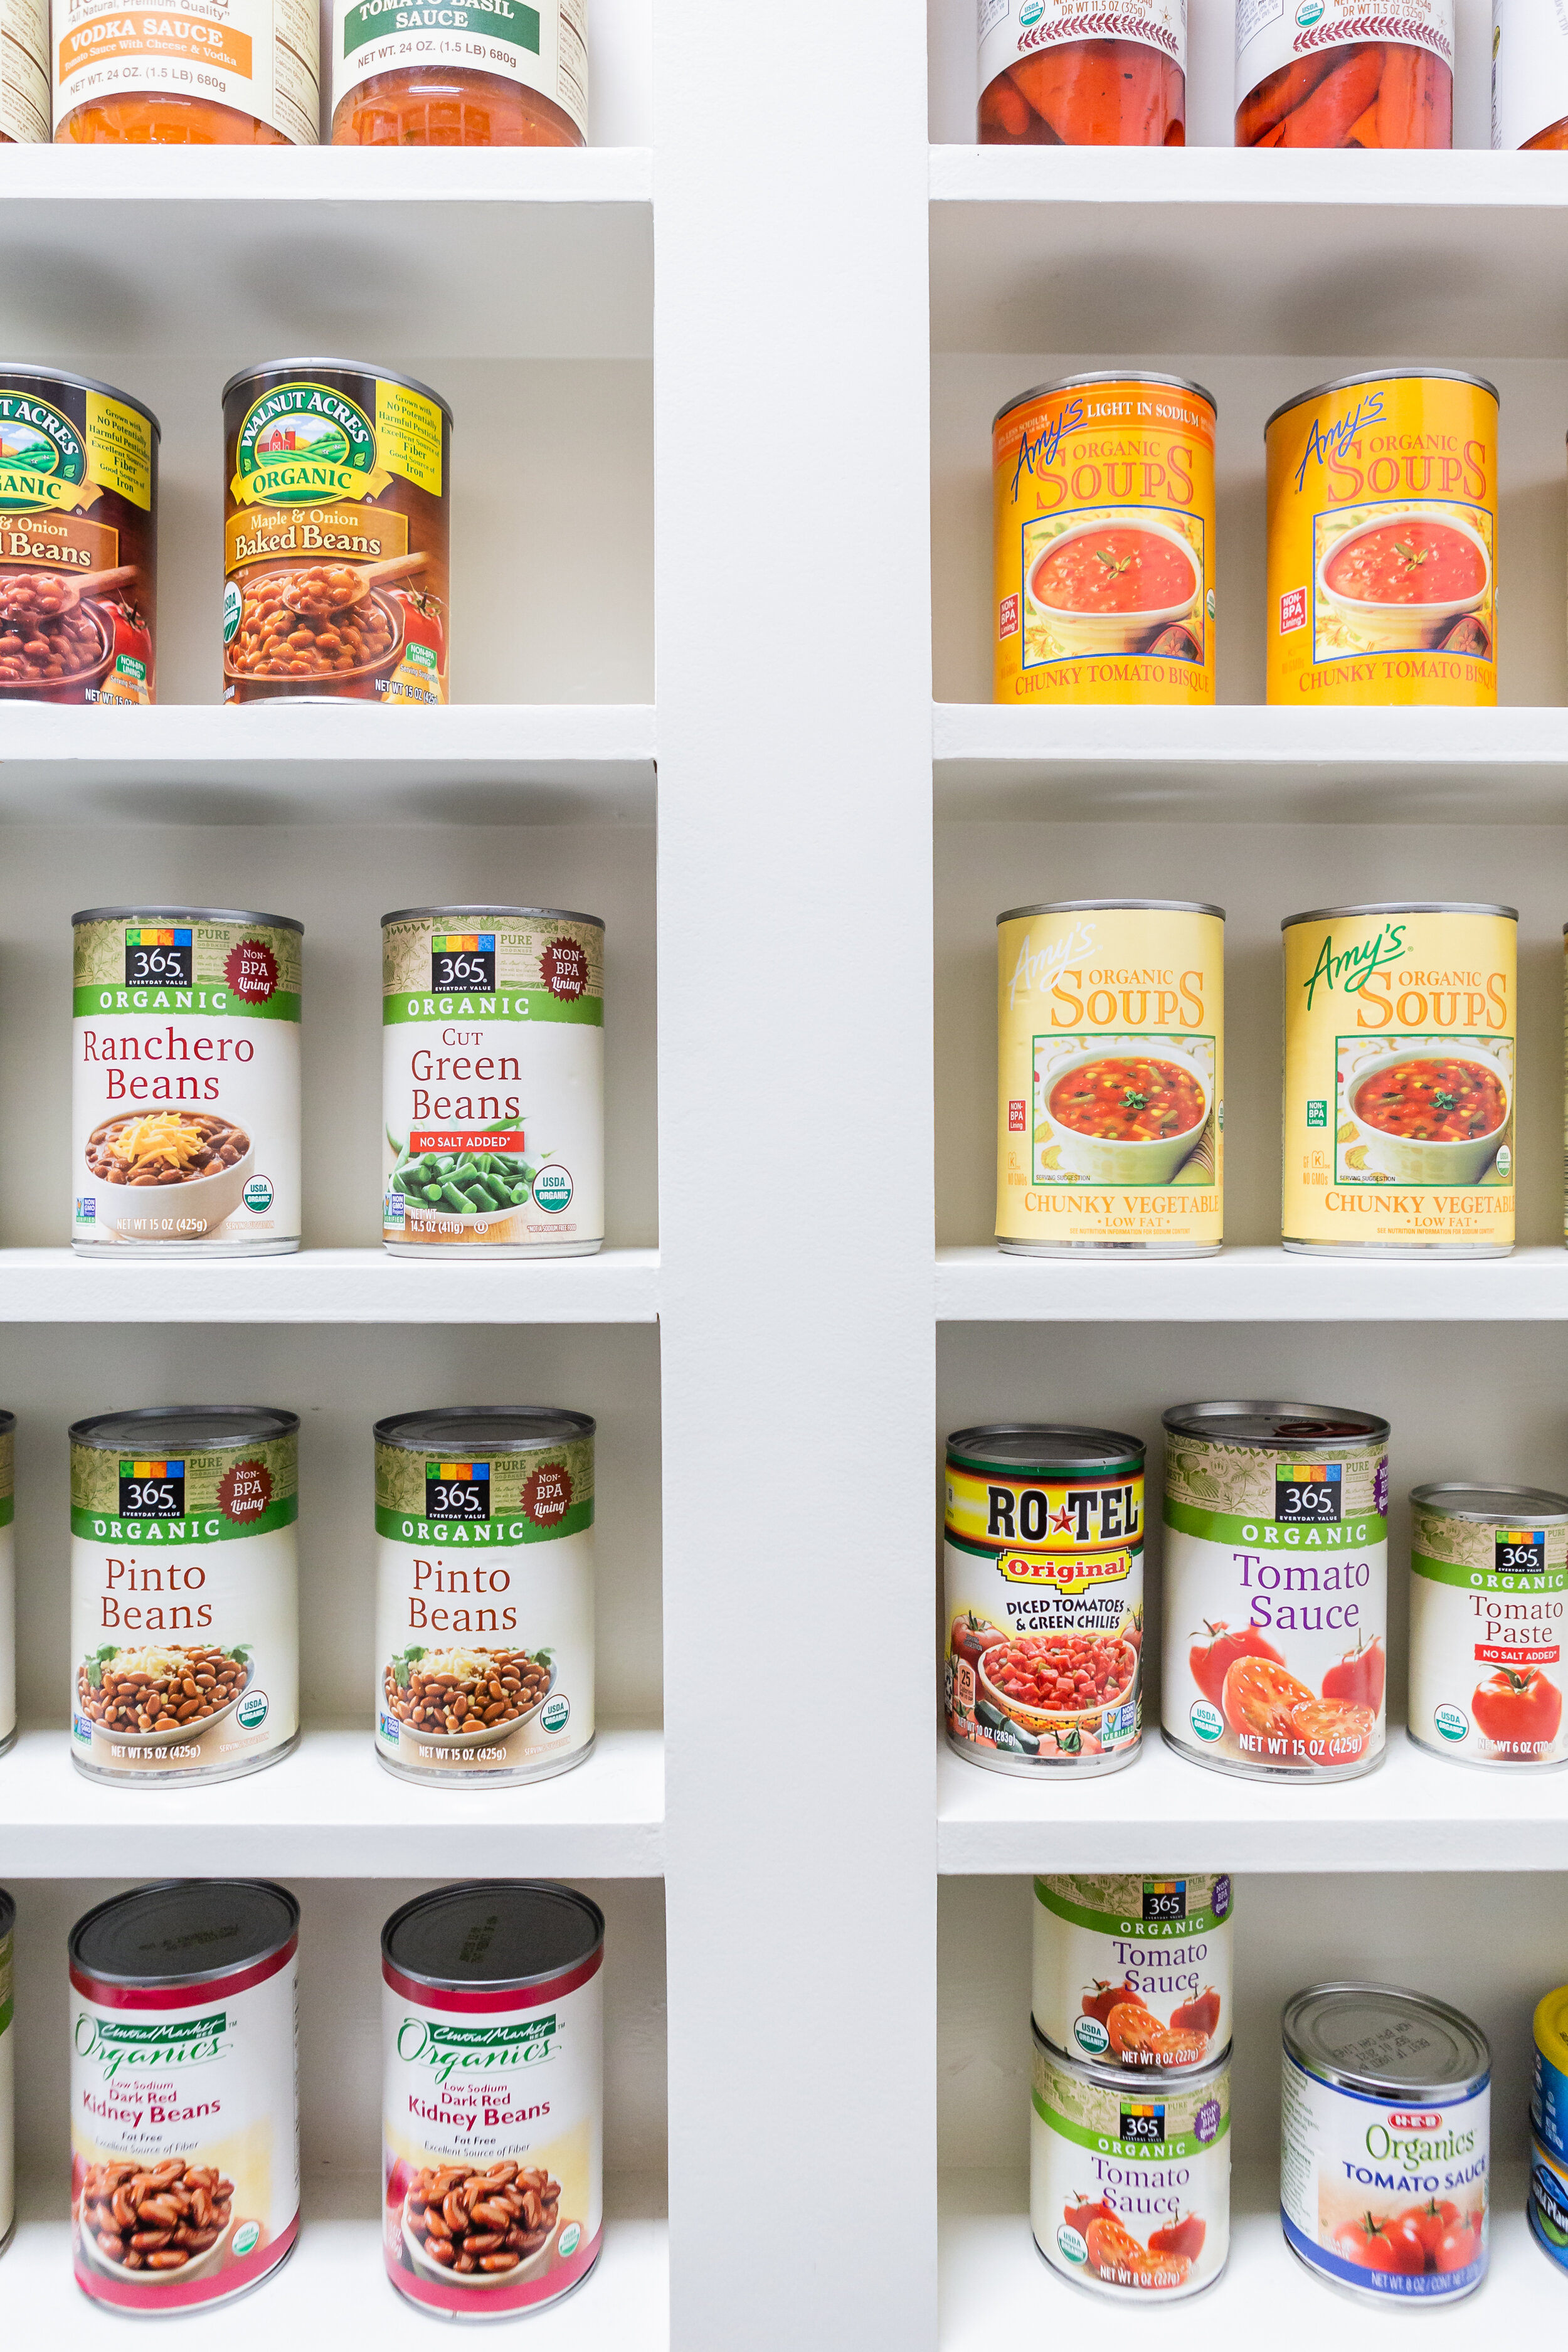
To make up for the shelf space we lost by adding the fridge and counters, we added recessed shelving into the wall behind the door for all our canned goods, jars, extra condiments, baby food, etc.

Now it’s functional AND beautiful!
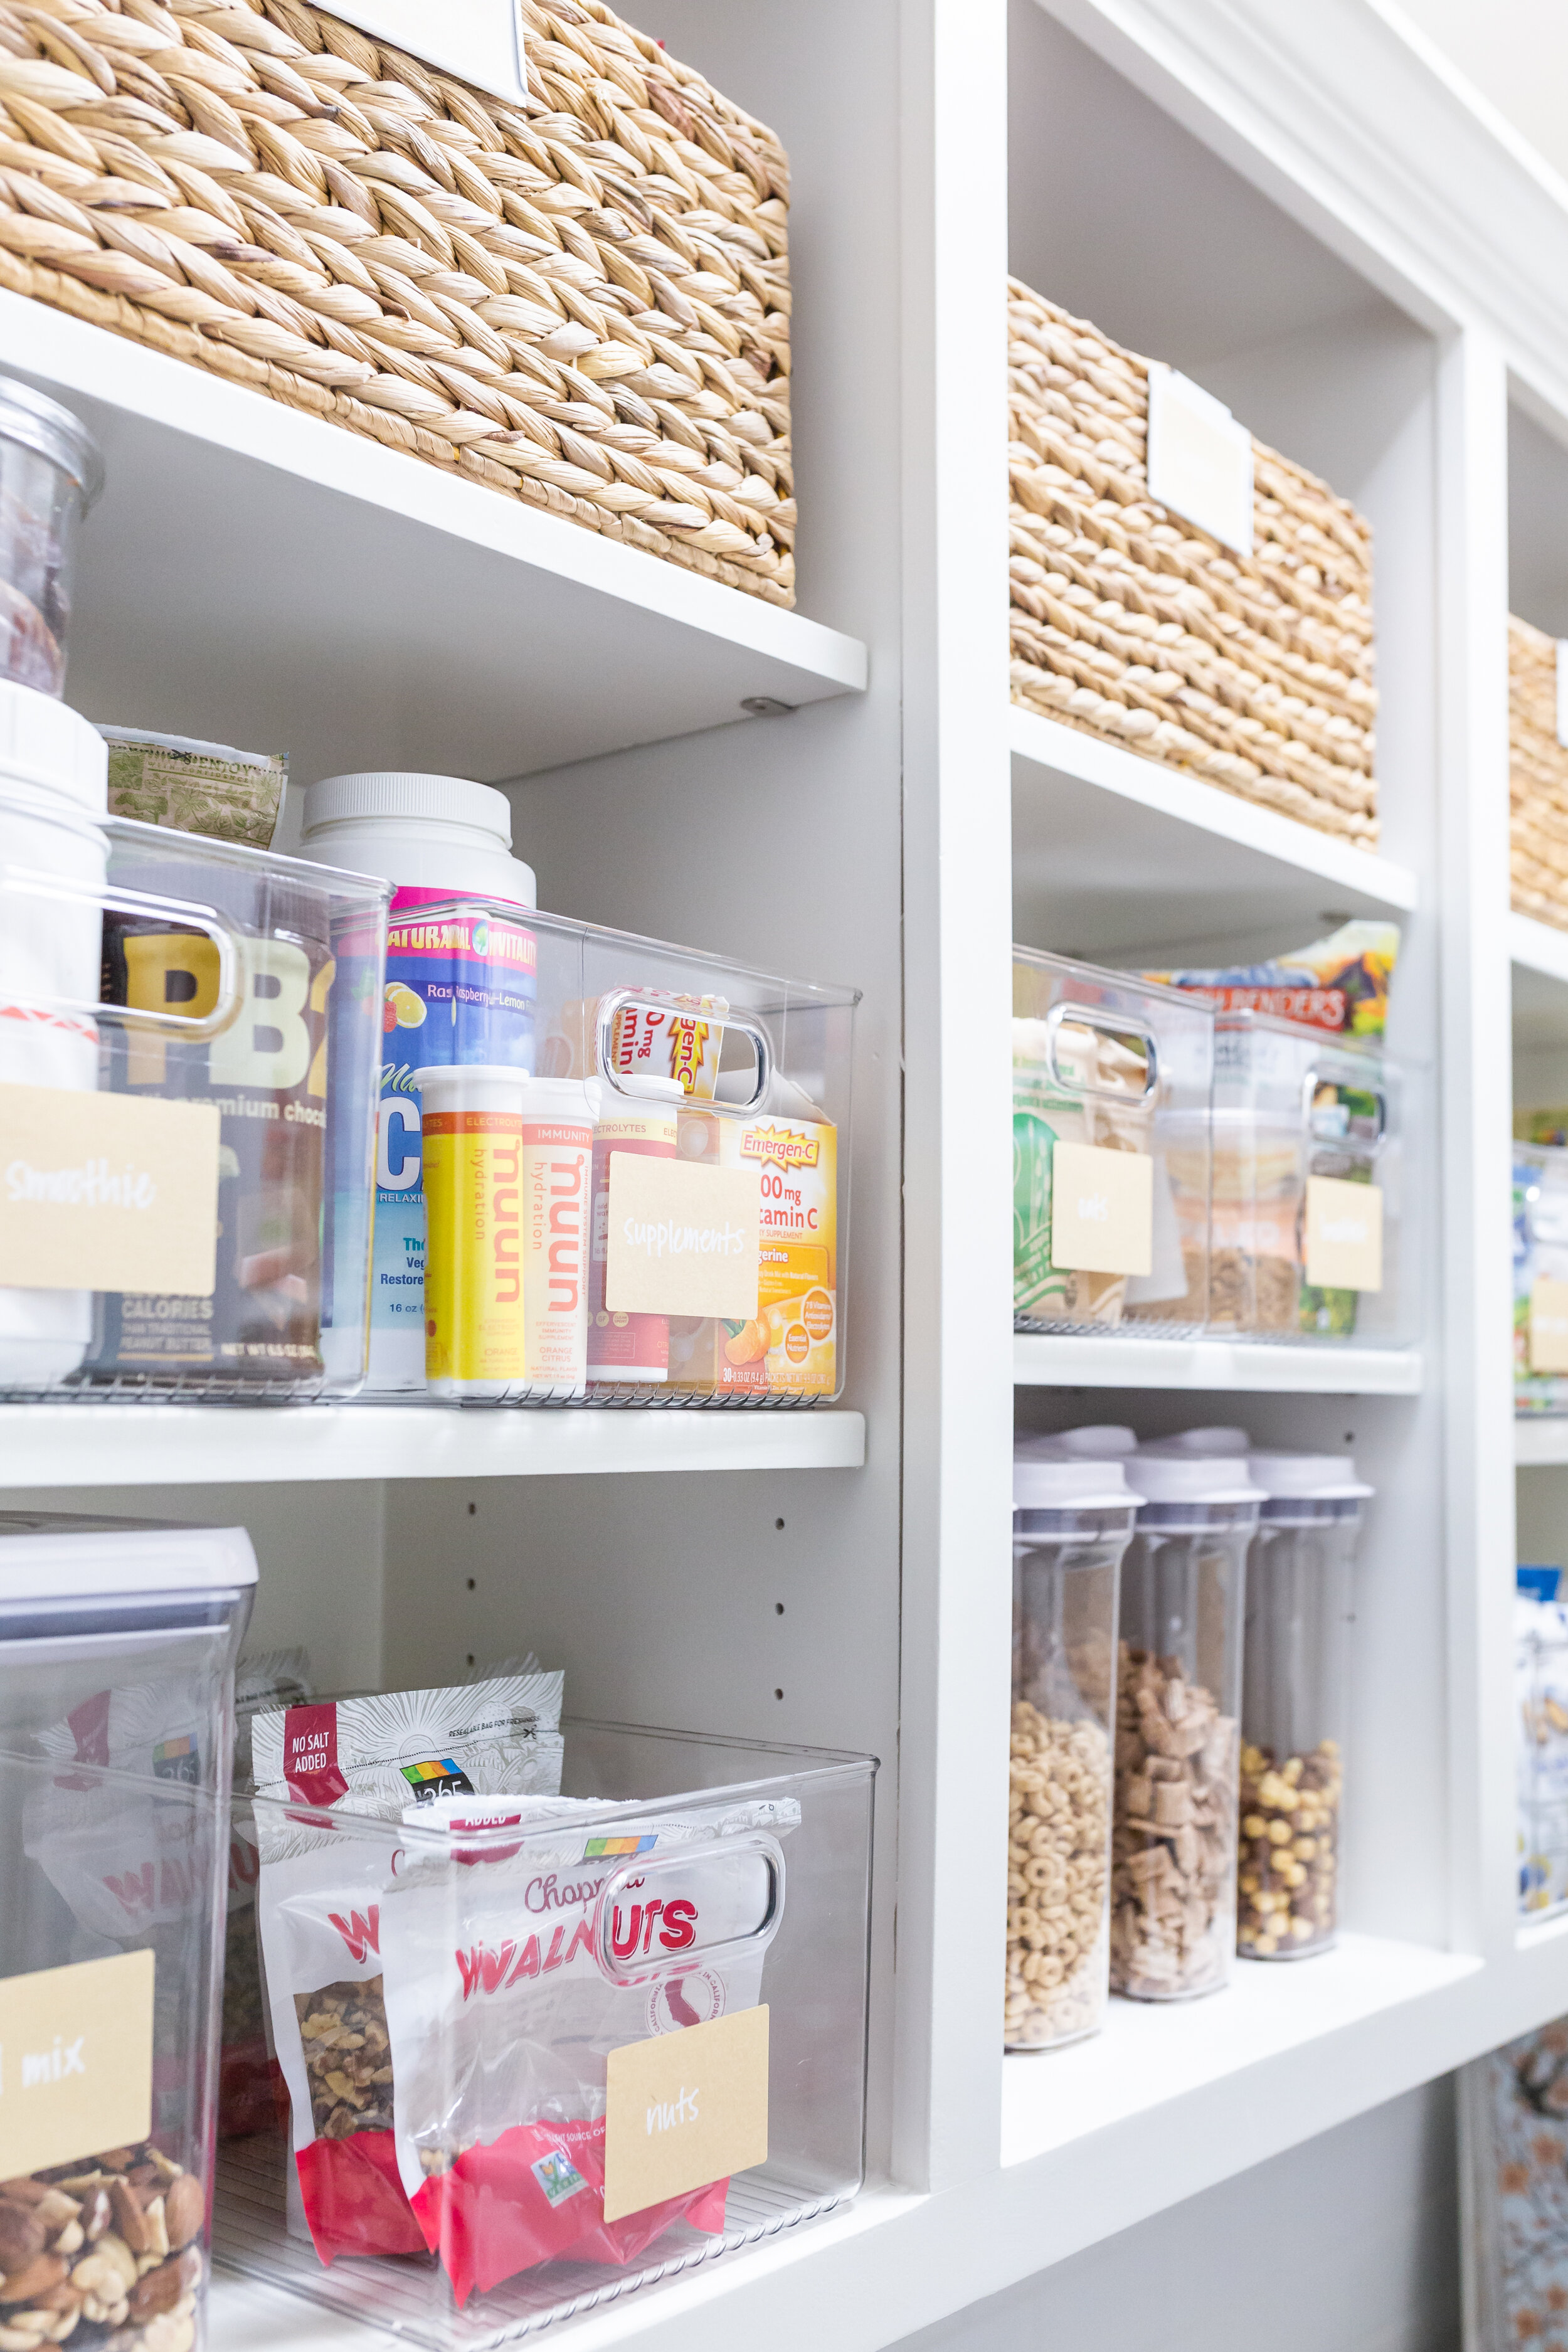
If you’re interested in learning more about how we organized the “after” space, be sure to check out this blog post for all the details.
PRODUCT LINKS
Photography by Dakota & Co.